Plan Version Management
Plan Version management in THAPIM entails creating and maintaining multiple Plan versions to accommodate upgrades and changes while ensuring backward compatibility and smooth transitions for developers and consumers.
Create New Plan Version
You can add newer versions to an existing Plan regardless of its state (Draft, Approved, Published, Deprecated, or Retired).
-
Navigate to the Usage Plans tab of API Packs Configuration screen.
-
Click the Usage Plan name.
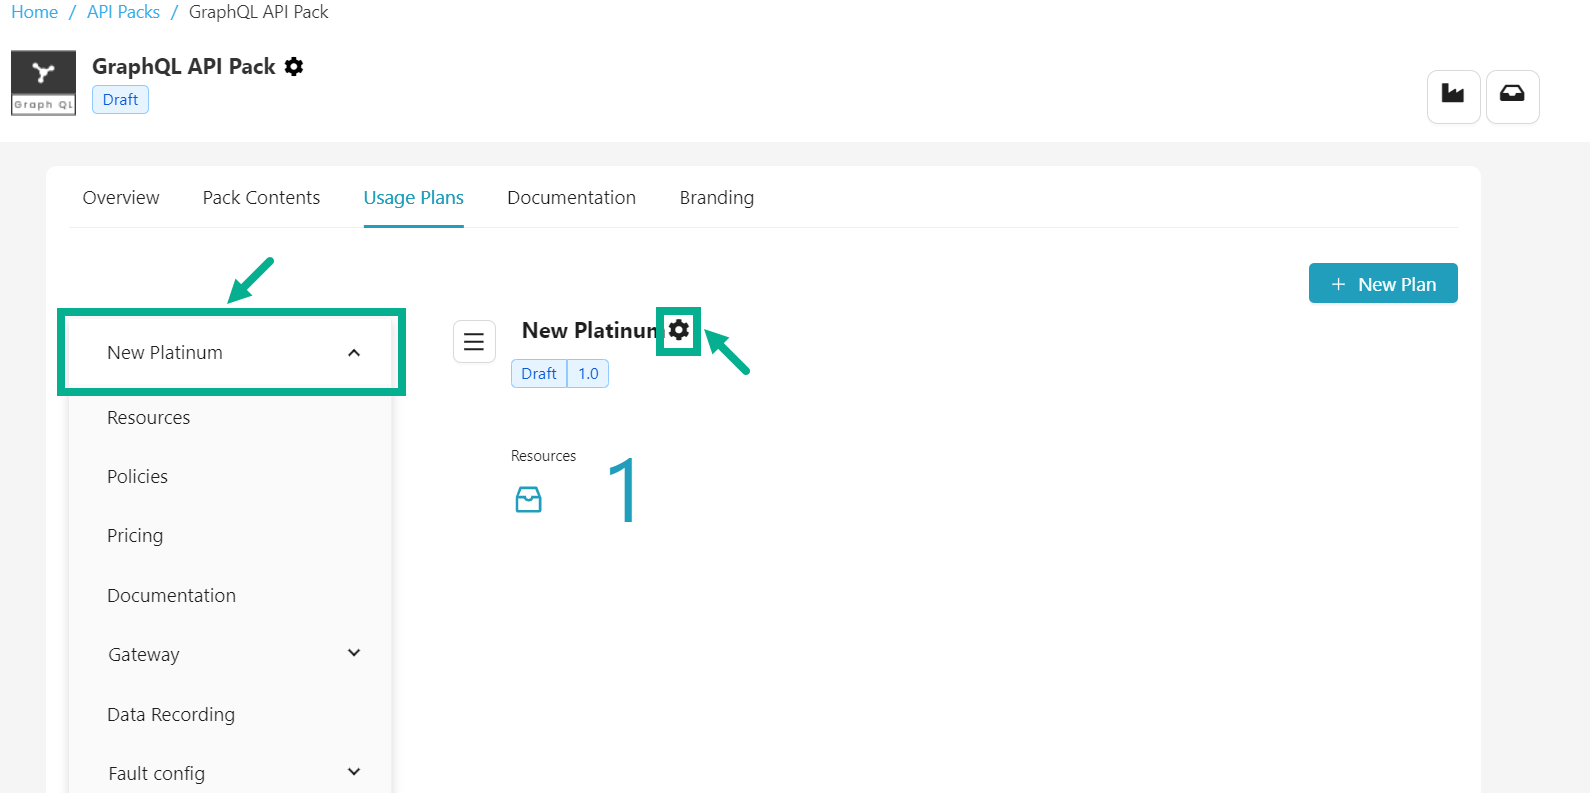
- Click the Cog wheel icon located next to the Usage plan name.
The drop down appears as shown below.

- Click Add Versions.
Add Version dialog box appears as shown below.

-
Enter the Version number and Version notes.
-
Select Copy from version from the drop down.
-
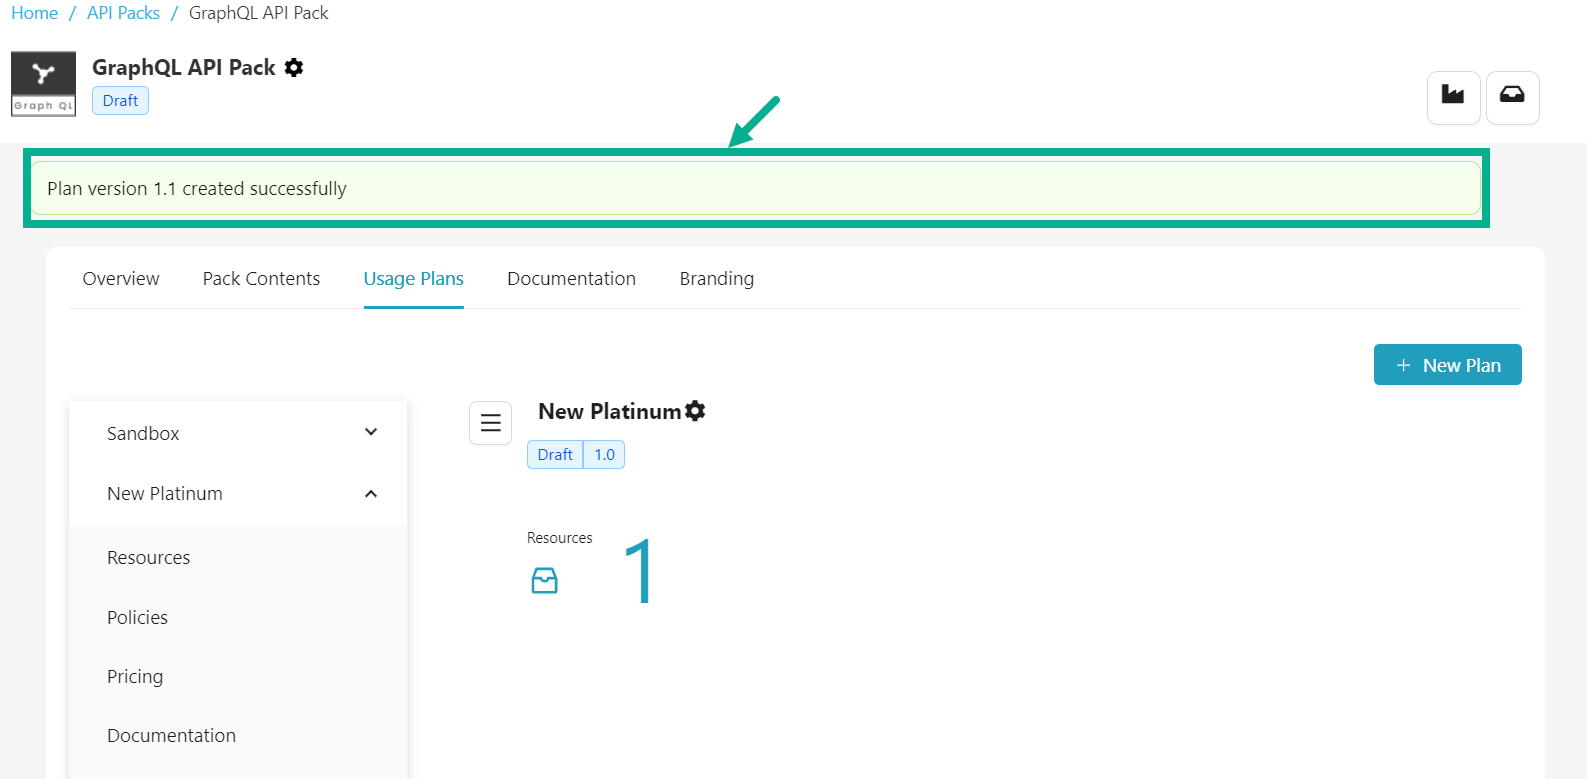
Click Add.
Switch between versions
If there are multiple versions of plans, you can switch between them to work on a different one.
-
Navigate to the Usage Plans tab of API Packs Configuration screen.
-
Click the Usage Plan name.
- Click the Cog wheel icon located next to the Usage plan name.
The drop down appears as shown below.
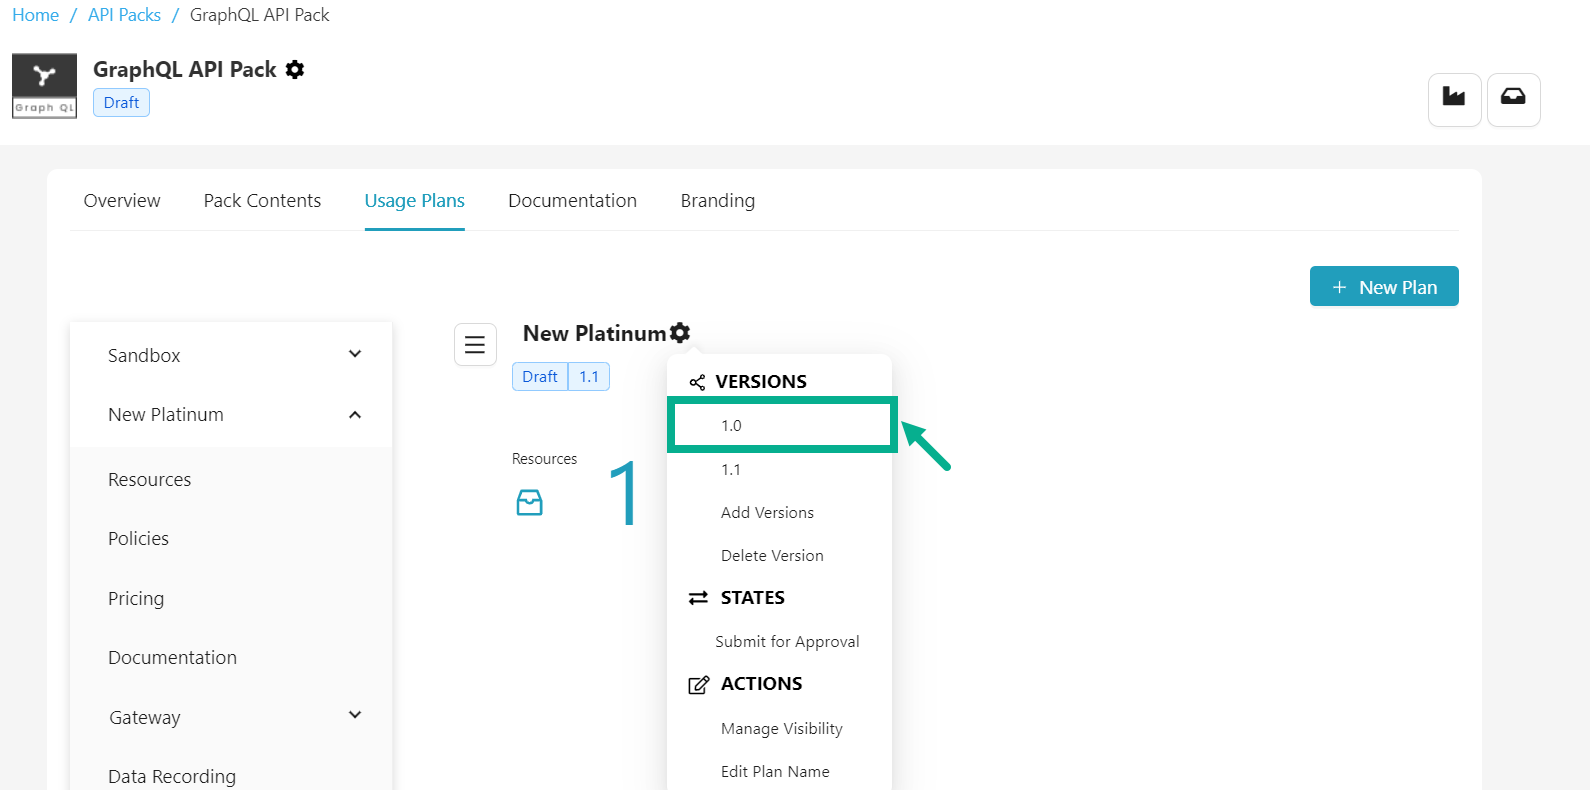
- Click on the version you wish to work on.
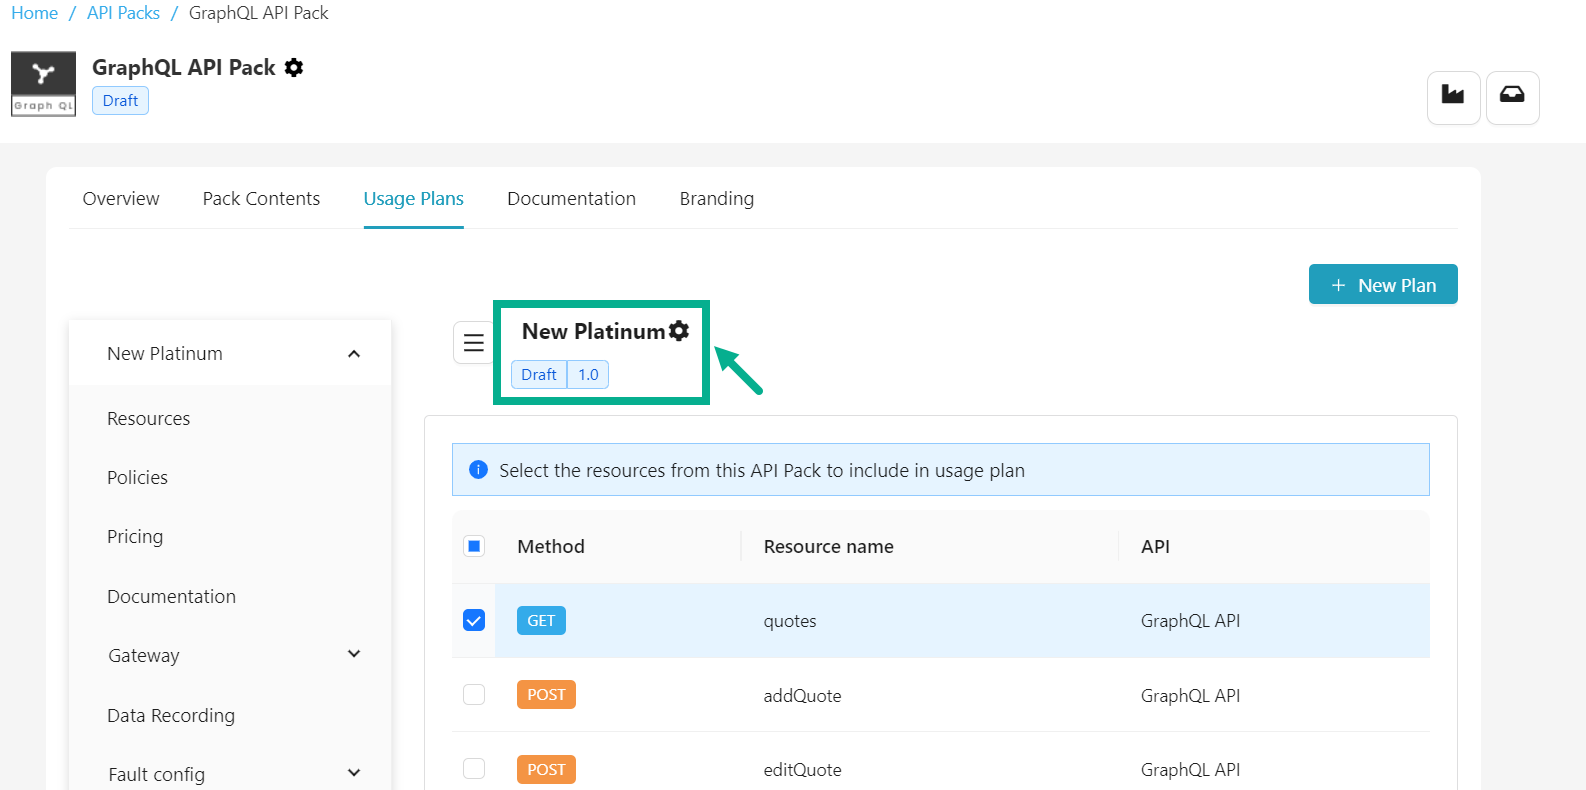
The API Plan page updates automatically to display data from the specified Plan version.
Delete a draft Plan Version
Only production plans in draft state can be deleted; sandbox plans cannot be deleted.
-
Navigate to the Usage Plans tab of API Packs Configuration screen.
-
Click the Usage Plan name.

- Click the Cog wheel icon located next to the Usage plan name.
The drop down appears as shown below.
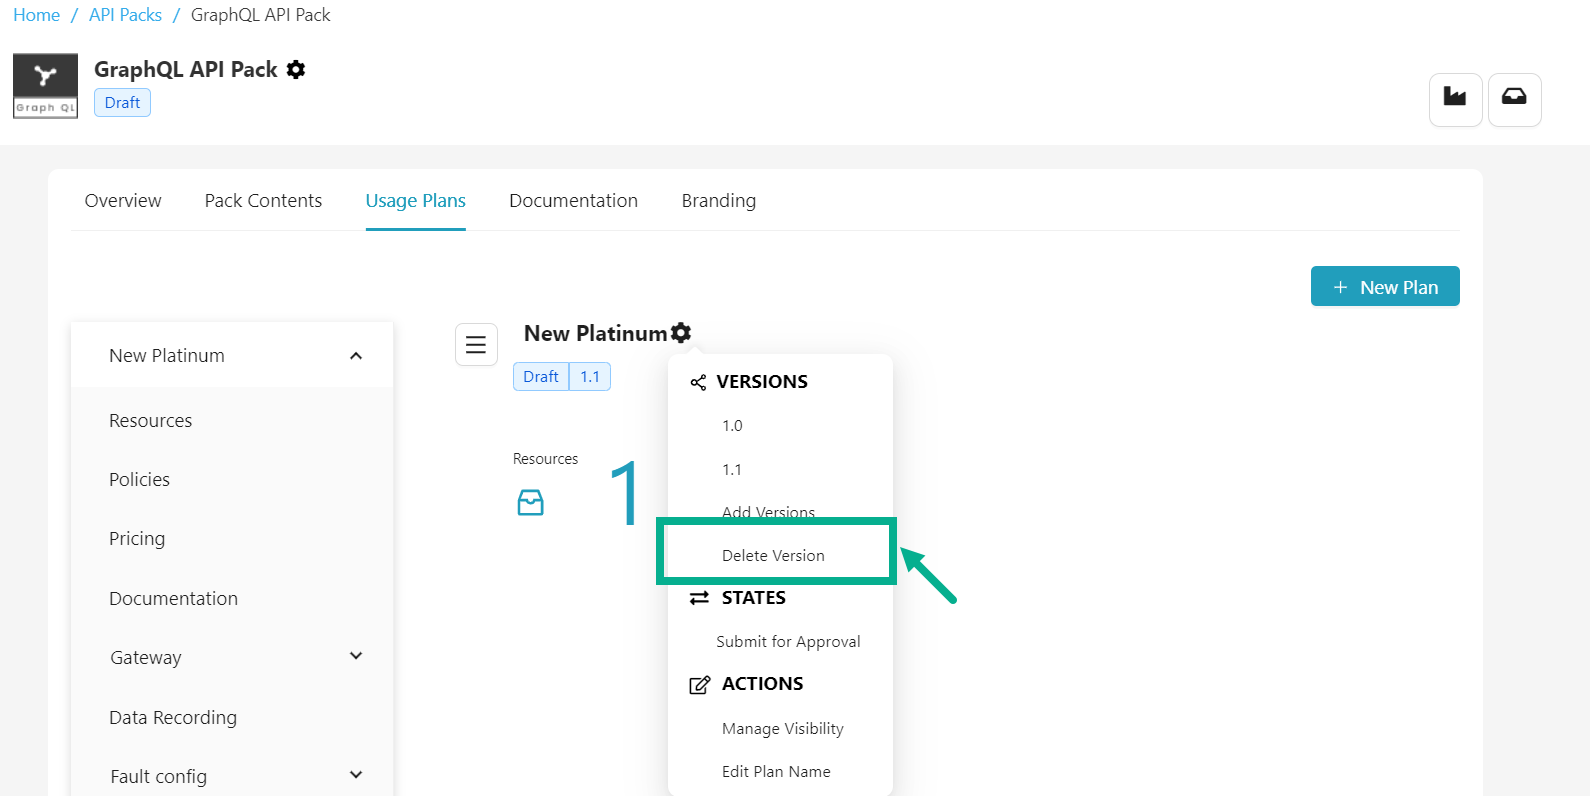
- Click Delete Version.
If there are multiple Plan versions, clicking Delete version deletes the version in which the user is currently working.
For example, The user is currently working with version 1.1 and pressing Delete version deletes the 1.1 version.
The Delete Version dialog box appears as shown below.
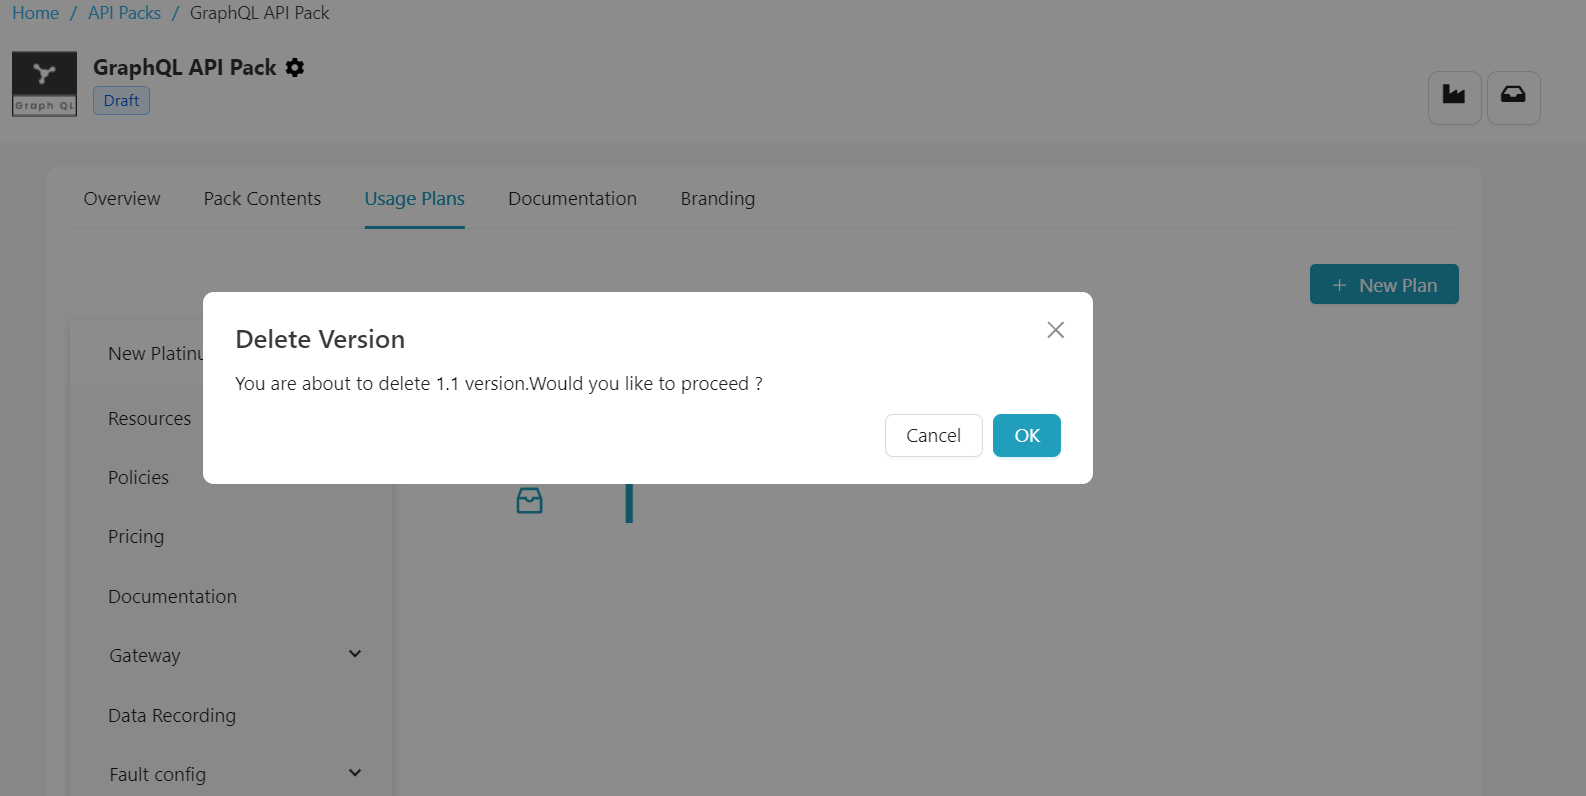
- Click Ok.
On proceeding, the confirmation message appears as shown below.

Submit the Plan for Approval
Once you've finished adding resources/operations, attaching Usage Policies, adding Pricing, attaching Plan and Pack documentation, branding and selecting the Usage Plan display order (in the case of a Usage-based monetization strategy), the Plan is ready for approval.
Before submitting a plan for approval, you must ensure that the following details are available for the Usage Plan:
- Resource/Operation details
- Term Validity
- Usage limits for usage-based strategies or transaction/revenue limits for revenue-sharing strategies
- All associated policies have been approved or published.
For packs with a usage-based monetization strategy and multiple Usage plans, you must submit all usage plans for approval before submitting the API Pack for approval. If there is even one Usage Plan that is still in the Draft State, the API Pack cannot be submitted for approval.
-
Navigate to the Usage Plans tab of API Packs Configuration screen.
-
Click the Usage Plan name.
- Click the Cog wheel icon located next to the Usage plan name.
The drop down appears as shown below.

- Click Submit for Approval.
If the login user has the Automatic Approval Workflow enabled, the Approve button will appear instead of Submit for approval.
- Click Approve button to approve the plan
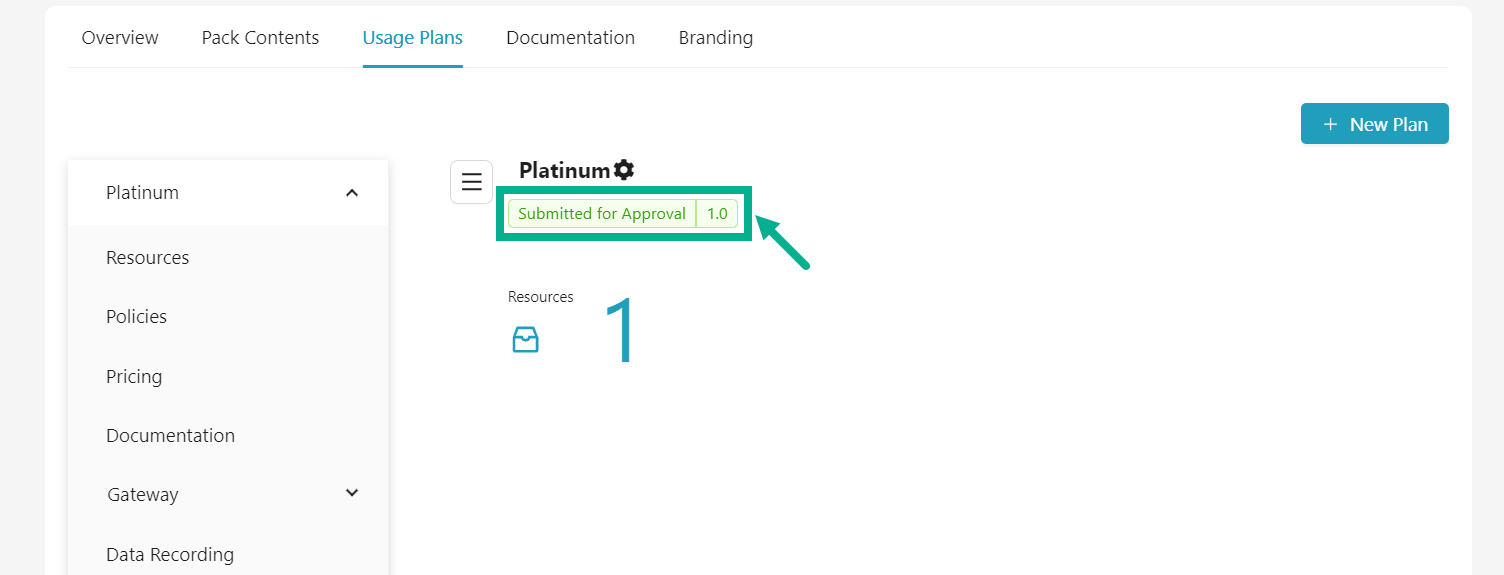
On successful submission, the status of the plan is updated as shown below.
Submit version for Edit
Plan versions that have been approved and published cannot be edited. To edit such plans, use the "Submit version for edit" option.
-
Navigate to the Usage Plans tab of API Packs Configuration screen.
-
Click the Usage Plan name.
- Click the Cog wheel icon located next to the Usage plan name.
The drop down appears as shown below.
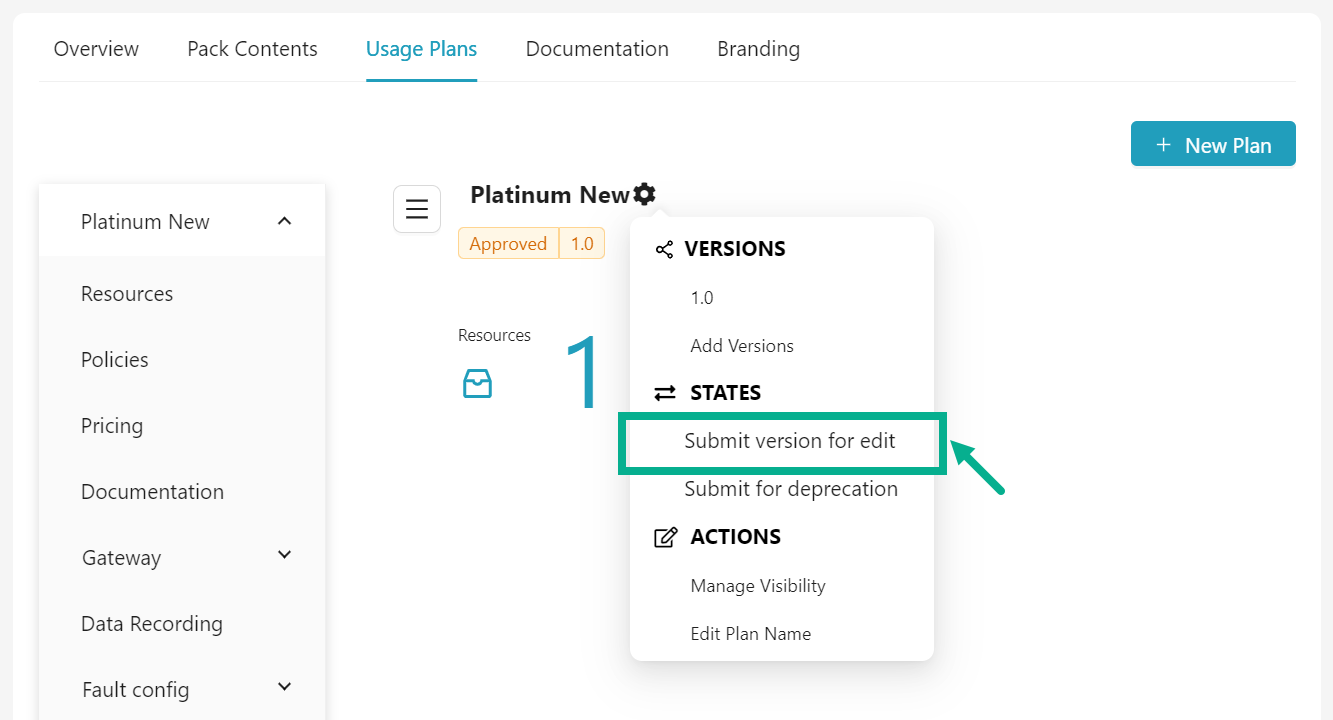
- Click Submit version for edit.
If the login user has the Automatic Approval Workflow enabled, the Open for Editing button will appear instead of Submit version for edit.
- Click Open for Editing button to edit plan.
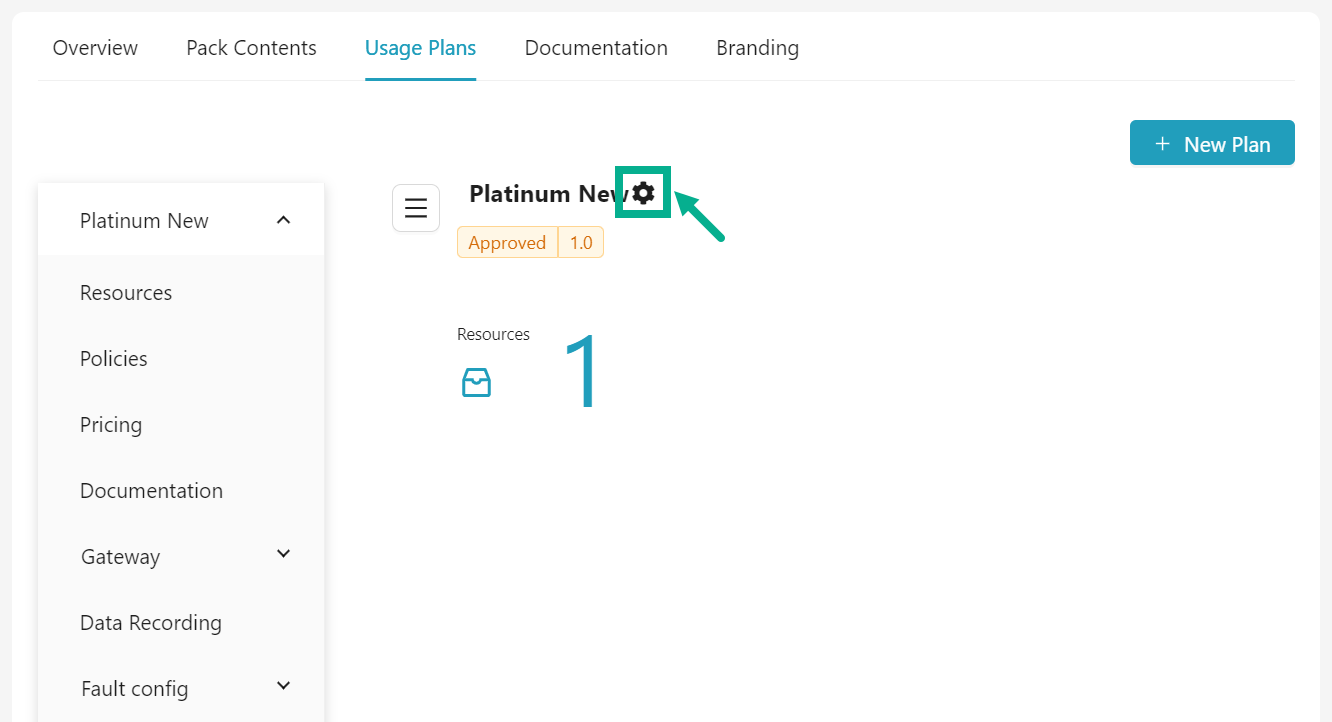
On submitting, the status of the pack is updated as shown below.
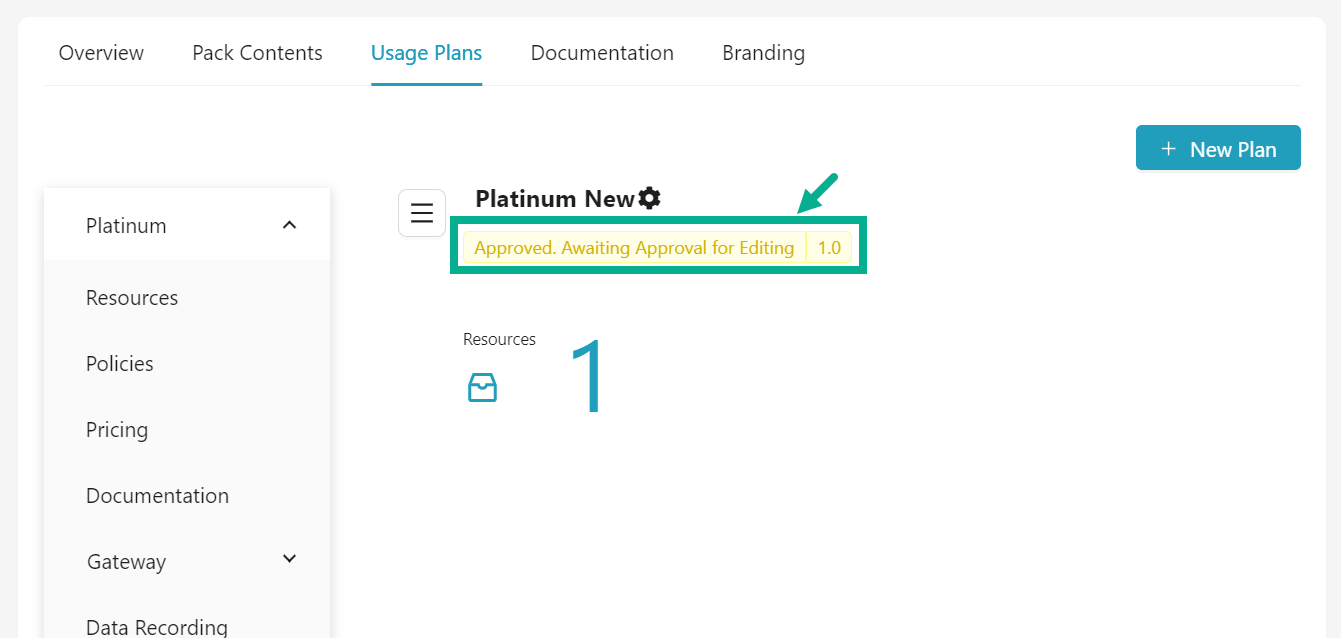
Once approved, the plans state changes back to Draft. You can now proceed and edit the plan.
Submit Plan for deprecation
Only published or approved Plan can be deprecated.
-
Navigate to the Usage Plans tab of API Packs Configuration screen.
-
Click the Usage Plan name.

- Click the Cog wheel icon located next to the Usage plan name.
The drop down appears as shown below.

- Click Submit for deprecation.
If the login user has the Automatic Approval Workflow enabled, the Deprecate button will appear instead of Submit for deprecation.
- Click Deprecate button to deprecate the plan.
On submitting, the status of the plan is updated as shown below.

Submit for Retirement
Only deprecated Plan versions can be retired.
-
Navigate to the Usage Plans tab of API Packs Configuration screen.
-
Click the Usage Plan name.

- Click the Cog wheel icon located next to the Usage plan name.
The drop down appears as shown below.
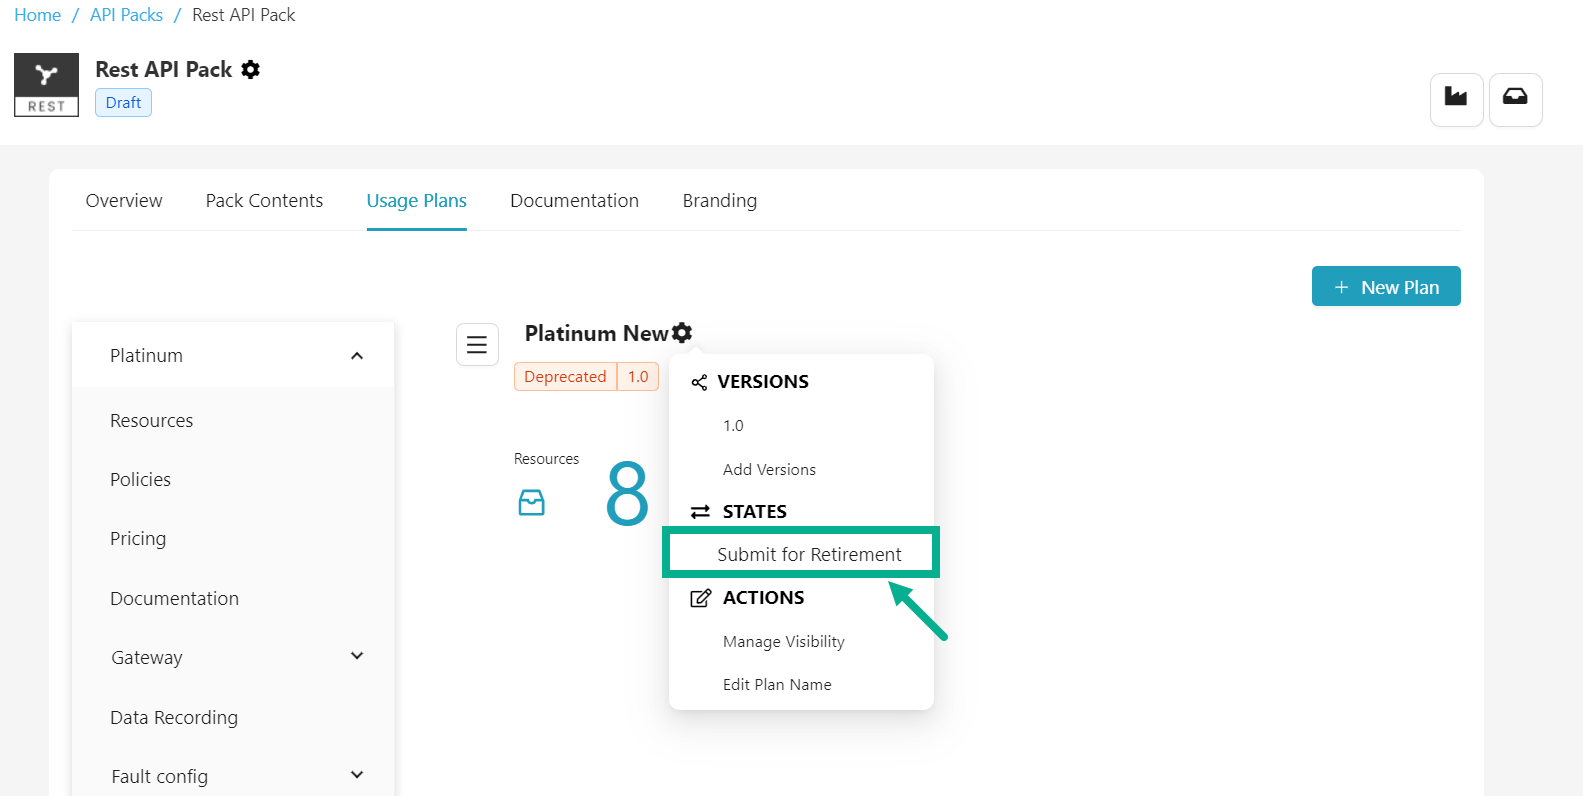
- Click Submit for Retirement.
If the login user has the Automatic Approval Workflow enabled, the Retire button will appear instead of Submit for Retirement.
- Click Retire button to retire a plan.
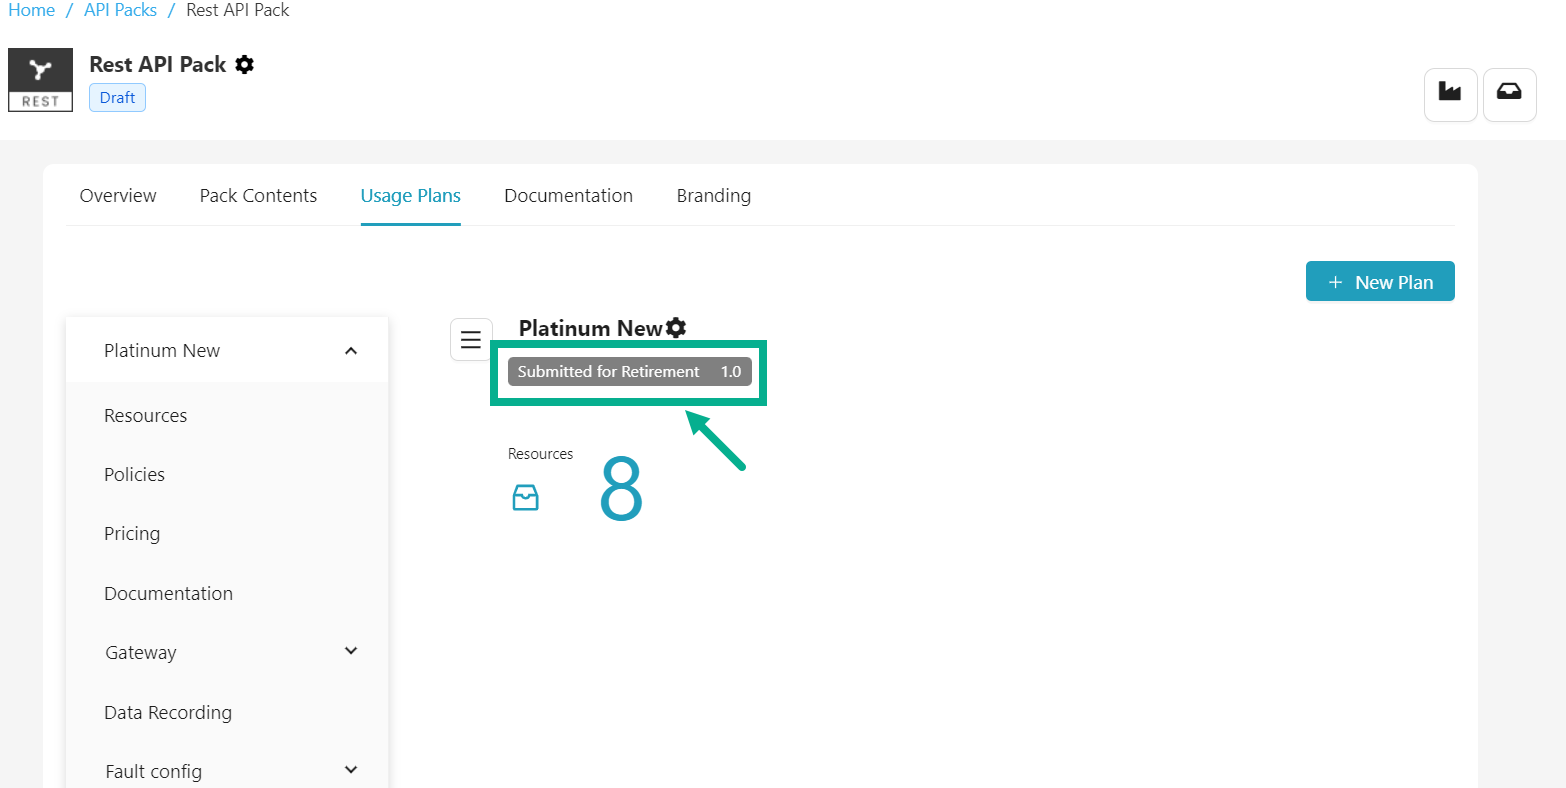
On submitting, the status of the plan is updated as shown below.
Manage Plan Visibility
To restrict a developer group's access to a use plan, you can modify the plan's visibility.
-
Navigate to the Usage Plans tab of API Packs Configuration screen.
-
Click the Usage Plan name.
- Click the Cog wheel icon located next to the Usage plan name.
The drop down appears as shown below.
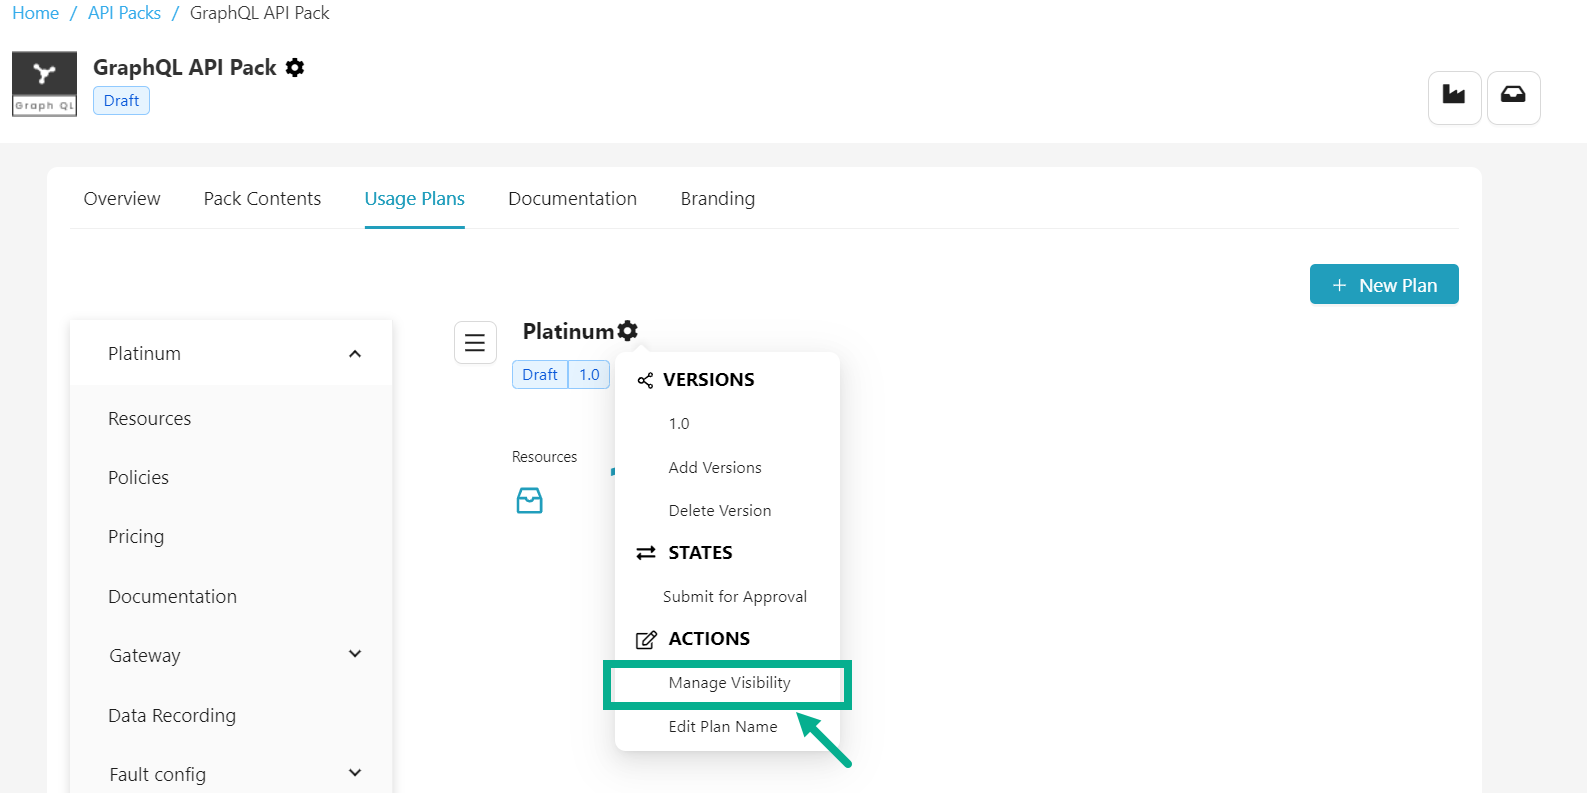
- Click Manage Visibility.
Usage Plan Visibility dialog box appears as shown below.
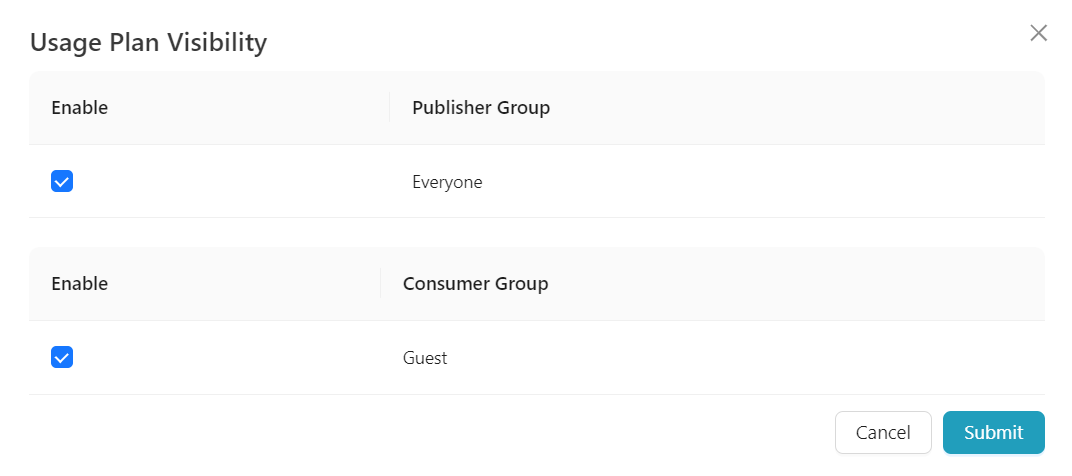
-
Enable/disable the appropriate checkboxes to enable/disable plan visibility to the Publisher Group and Developer Group as per the requirement.
-
Click Submit.
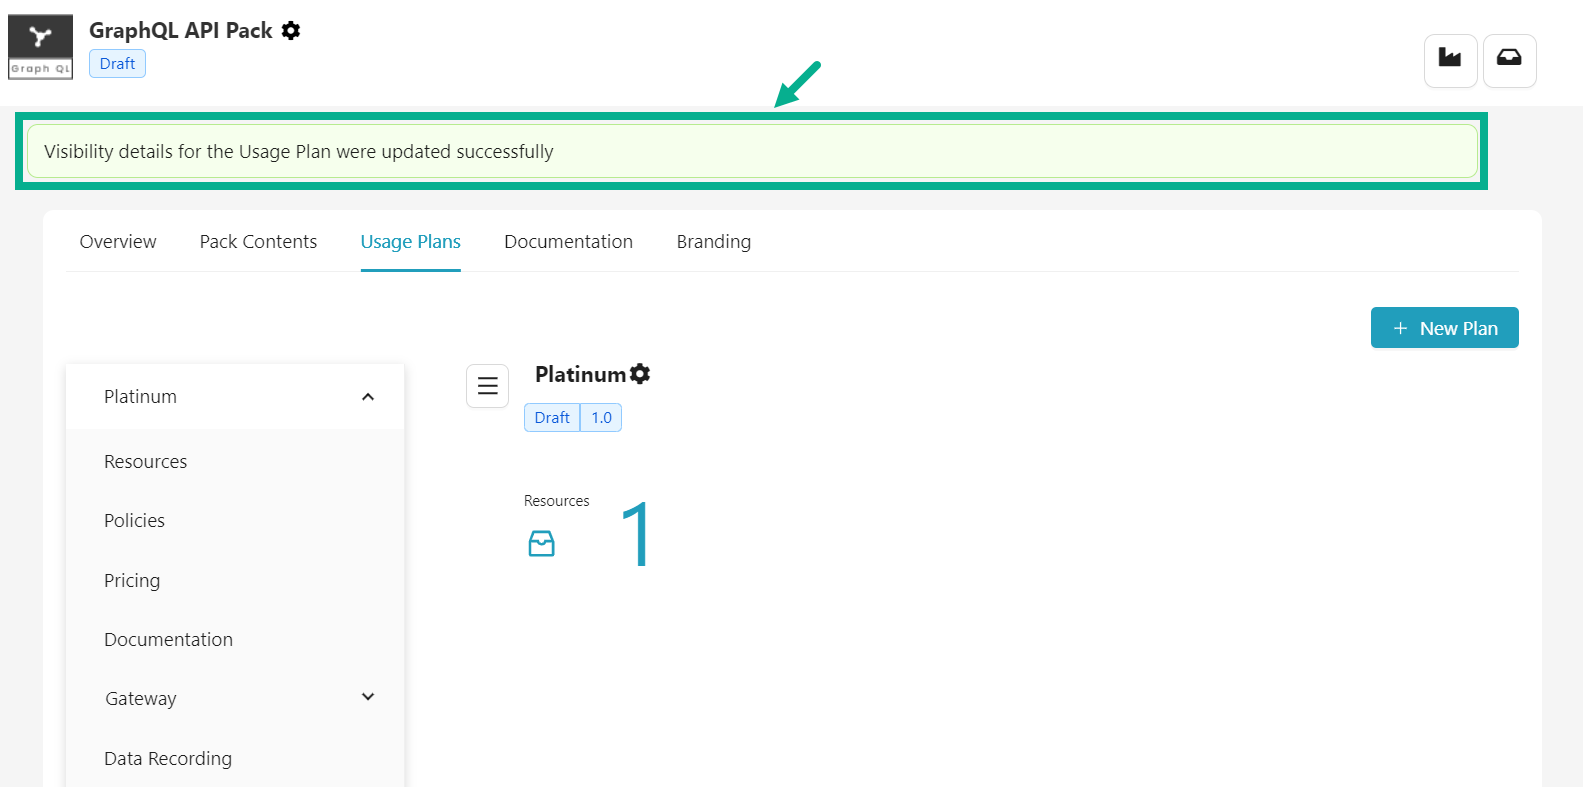
On submitting, the confirmation message appears as shown below.
Edit Plan Name
THAPI Manager allows you to modify a Usage Plan name to have a different Plan name from the present one.
-
Navigate to the Usage Plans tab of API Packs Configuration screen.
-
Click the Usage Plan name.
- Click the Cog wheel icon located next to the Usage plan name.
The drop down appears as shown below.
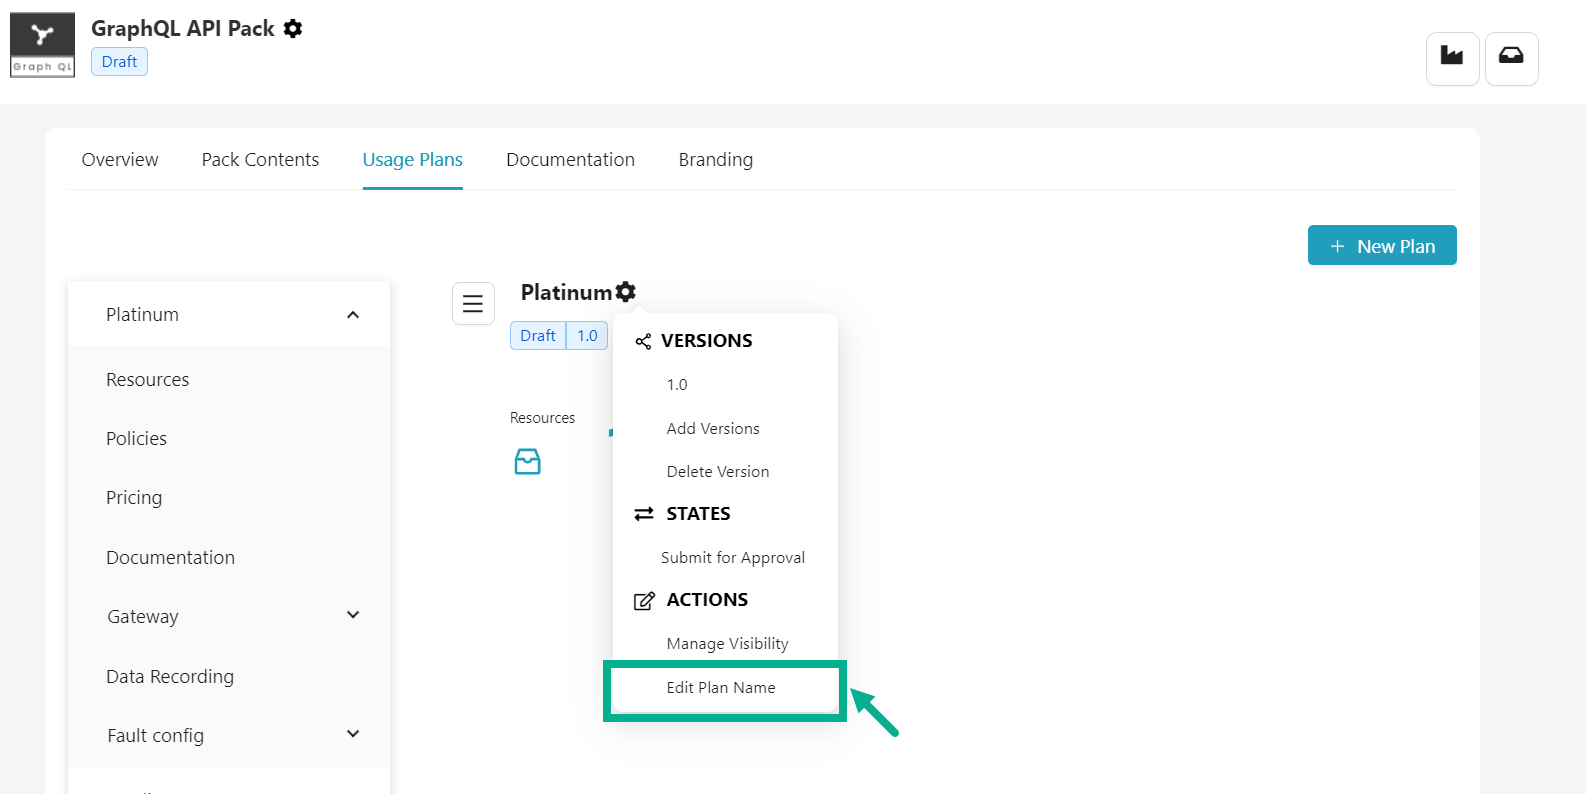
- Click Edit Plan Name.
Edit plan name dialog box appears as shown below.

-
Edit plan name.
-
Click Update.
On updating, the confirmation message appears as shown below.
